
When I figured out there was a way to make ice cream without the aid of an ice cream machine, I practically sprinted to the nearest supermarket to buy heavy cream. You see, ice cream and I get along well - really well. Its cold, creamy texture combined with an infinite number of flavor combinations makes it so that I eat ice cream quite often. Quite often indeed.
There is an ice cream shop called Ici two blocks away from my apartment, and between the delicious, unique flavors, the homemade cones with heavenly chocolate in the tip, and the boy with the lovely smile who works there, a good part of my spending money goes toward buying gourmet ice cream.
However, seeing that I am needing to save my money for my upcoming semester in Rome (WAHOOOOO I'm going to Rome!!!), my Ici visits need to stop being a
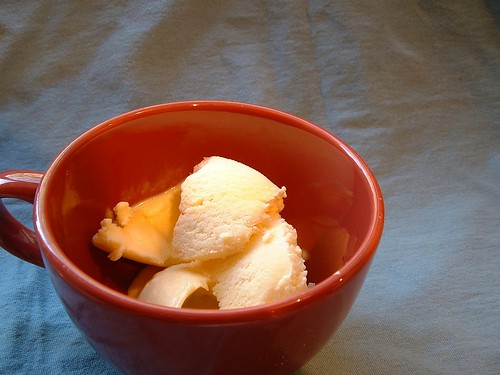
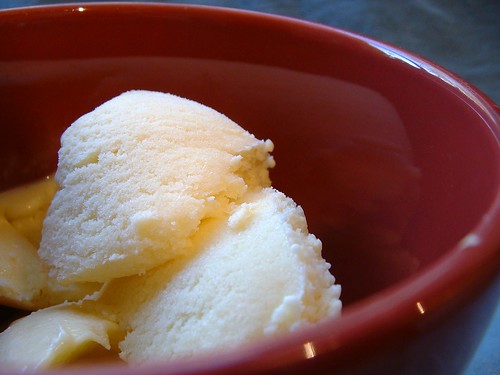
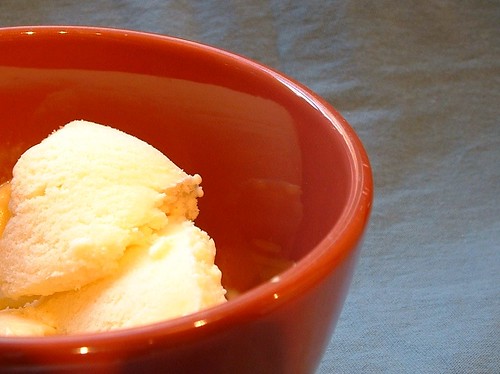
Now my first ice cream experiment was with a flavor that many of you may not appreciate at face value: buttermilk. Buttermilk, the tangy, sour liquid that is oh-so useful in baking, but definitely not for drinking straight out of the carton, isn't something many consider to be delicious in its own right. But when I saw a recipe for buttermilk ice cream on Smitten Kitchen's blog, I knew I had to try it.
And it was delicious.
It was tangy but sweet, delectably creamy, and each spoonful was completely and utterly satisfying. If you have ever tried creme fraiche ice cream (a flavor I get from time to time at Ici), it sort of tasted like that.
So how did I manage to make ice cream without an ice cream machine, you ask? Well, I'm so nice that I'm going to tell you:
How to make ice cream without a machine:
1. First, you make the recipe as you would normally do, but then put it in a shallow, high rimmed baking dish (which makes stirring the mixture easier). Chill the mixture in the fridge until it is thoroughly cold (mine took a few hours).
2. Move the dish to the freezer for 30 minutes. After 30 minutes, remove the tray and whisk vigorously for 2 minutes, making sure you incorporate the semi-frozen edges, too. Put back in the freeze for 30 more minutes and repeat. Then 30 more minutes, repeat.
3. After you have done this process 3 times (meaning that you've stirred it 3 times), put the tray in the freezer until the mixture has completely frozen, ideally overnight. You can then put your ice cream in a lidded container and enjoy to your heart's content!
Recipe:
Adapted from Smitten Kitchen
1 1/4 cup sugar
8 large egg yolks
2 cups buttermilk
2 teaspoons vanilla
Pinch of salt
1. In a large, heavy saucepan, combine the heavy cream and one cup of sugar and bring to a simmer over medium heat.
2. In a large bowl, whisk egg yolks and remaining 1/4 cup of sugar.
3. Remove the cream mixture from the heat and drizzle a small amount into the yolks, slowly, and whisking constantly to keep the eggs from curdling. Do this a few more times to warm up the yolks before pouring the yolk mixture back into the cream, whisking constantly.
4. Cook over low heat until the mixture is thick enough to coat the back of a spoon. Strain the mixture and whisk in the buttermilk, vanilla, and salt. Cool completely and freeze. (If you have an ice cream maker, by all means use it. But if you don't, feel free to use the method I tried out - it worked wonderfully!)
No comments:
Post a Comment