Showing posts with label fail. Show all posts

Monday, May 31, 2010

Cake-tastrophe Part 2

After my homemade chocolate cake disaster, I thought that the universe was too nice to allow for anymore mishaps in the kitchen for a while. However, I still took extra precautions when I made my store-bought cake mix. I wasn't taking any chances - I oiled my pans really well and double checked everything from measurements to the oven temperature.

Apparently that wasn't enough.

Baking the cakes went fine, but once they were cooled and I tried to take them out of their pans, they wouldn't budge. I started panicking so I shook and shook and shook the pan (looking back, this probably wasn't the best strategy... Scratch that. It definitely wasn't the best strategy). The cake finally gave into my aggressive shakes, but in retaliation, it came out in two pieces: the outside, and the middle. Ughhhhhh.

The other pan wasn't much better, but it was all that I had to work with, given that the birthday party was in T-minus 4 hours. I decided that with the aid of more frosting than was possibly decent, I would try to construct my dinosaur cake.

After the first layer of pink frosting was applied, my mutant dinosaur looked like it had some prehistoric skin disease, because the crumbs from the cake mixed with the frosting. Grrreat, my brother was going to have a cake that looked like a sickly animal.


I hadn't given up hope quite yet, though. I remembered reading in the Joy of Cooking that if you stick the cake in the fridge for a while and then add more frosting, the crumbs will stick to the first layer (the crumb layer), and leave the second one clean. I tried this, and it worked like magic. I was in awe of the power of a crumb layer, and my diseased dino only looked slightly afflicted now - definitely good enough to serve at a 5-year-old's party.

I used the fondant I made from scratch to make the eyes and spikes, and in the end, my brother loved it. It may not have been the cake I was expecting when I first conceptualized it, but I was still pretty gosh darn proud of my effort.

Sunday, May 30, 2010

Cake-tastrophe Part 1

Yesterday was my 5-year-old brother's birthday and, being the enthusiastic baker that I am, I volunteered to make the birthday cake. My brother told me he wanted a dinosaur cake, but not just any dinosaur cake - he wanted a pink dinosaur. It made my day when he said that.

I decided to make a chocolate devil's food cake from scratch, and then shape it into a dinosaur and cover it with pink frosting. Sounds simple enough, right? Well, let's just say that the beautiful dinosaur I had envisioned was never quite realized, and it took many, many tears to get the mediocre final result. I never understood why someone would cry over their baking disasters, but I can fully say that now I completely empathize with anyone frustrated to the point of tears.

For my first attempt, I chose a recipe from a cookbook that called for buttermilk and cake flour. Seeing how I had neither, I found substitutions that seemed legit - regular milk plus lemon juice for the buttermilk (so it would curdle), and all-purpose flour minus a few tablespoons for the cake flour. I think that these two things combined are what contributed to the disaster...

*Warning, the following images contain horrific views of mangled cake.*


As you can see, the cake didn't rise. Instead, it caved in halfway through baking, but still decided to spill over the sides. Pieces dripped into the abyss of the oven's depths, burned, and made the whole house smell like burnt chocolate. Lovely.

Even at this point, I had hope (feel free to start laughing at my bright-eyed optimism anytime now). I let the cakes cool in the pans, certain that even though they looked ugly, they could be salvaged and turned into a dinosaur cake with the help of copious amounts of frosting. When I turned them out onto a plate, however...


...they looked like a pile of mud. What should have been the height of a two-layer cake instead resembled a mud-pie that my brother would make in the backyard. Yeah... definitely no way that I would be able to turn that into a dinosaur.

I finally resorted to trudging down to the store and buying a boxed cake mix (the baker inside me died a little), and that turned into a whole other cake disaster (stay tuned for Part 2 tomorrow).

The one good thing from all of this is that my flop cake tastes delicious. It's so chocolaty and rich that it's already halfway gone, despite its ugly appearance. This experience definitely showed me that I still have quite a way to go on my baking journey, but it's a lesson I'm glad I learned. I guess I'll just have to try again for the next birthday cake, and hopefully that one will go a little better.

Saturday, May 8, 2010

Well, let's sum this one up to a "Learning Experience"

It's time for finals. And what does that mean in my world? Do anything but study.
I kid, I kid (I swear, Mom, I studied all day). But I did end my evening by trying a new baking recipe.

My options were rather limited, because I used the last of the eggs for a batch of cookies last week; but then I found the perfect candidate: Chocolate Blancmange. This recipe uses corn starch as its thickening agent rather than eggs, and it's made in a mold (like Jello). I had never heard of Blancmange before, but I decided to give it a go because worst case scenario I'd have chocolaty pudding to eat if it didn't turn out correctly. (I'm pretty sure Blancmange is like a thicker, molded pudding.)


So the making of the blancmange went pretty well; it might have turned out a little lumpier than recommended, but I'm still a novice at working with boiling milk. Waiting for it to chill was agonizing though, and I could hardly wait for it to be thick enough to put onto a plate to show all of its Blancmange Glory to the world.

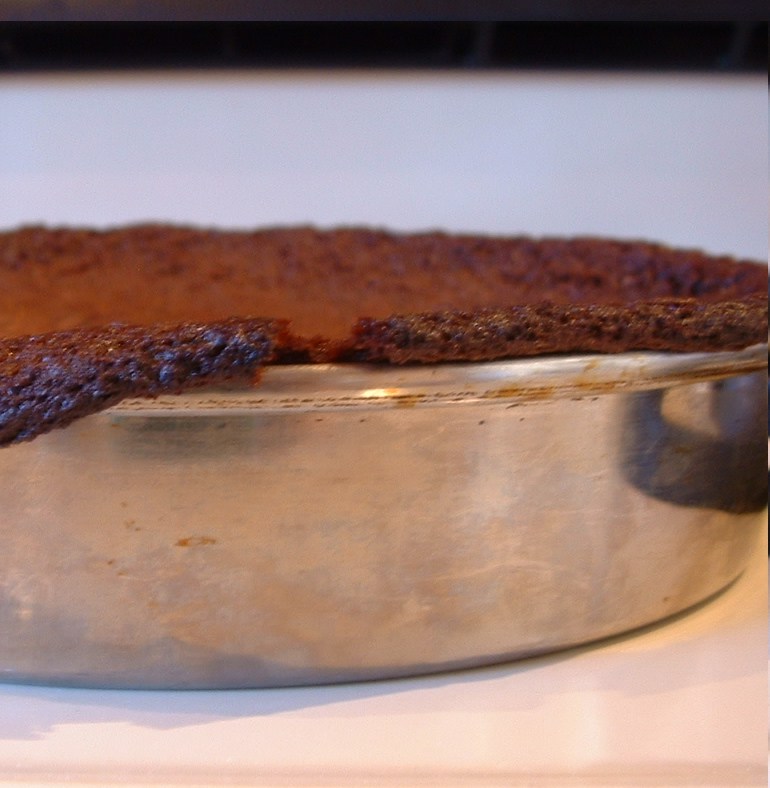
But this is where things went terribly wrong. My spider-sense was tingling and I thought something might go wrong, so luckily I took a before picture. The blancmange was firm enough, but it was sticking to the sides of the bowl, so I decided to run it under some warm water. Apparently my blancmange decided it was ready to come out of the bowl while it was tipped precariously in the sink. Its life flashed before its eyes as half of the bowl's contents slopped into the sink full of dirty dishes. My visions of a beautifully molded dessert were no more.
I was pretty disappointed by the epic-failage of my mold-loosening abilities, but there's good news! It still tasted delicious. My prediction was right -- it pretty much tasted like really thick, rich, chocolaty pudding. But what's not to love about that?

So enough about my pathetic baking fail. Onto the recipe!


Chocolate Blancmange:
Adapted from 500 All-Time Great Recipes
Serves 4

4 tablespoons milk
2 1/2 cups milk
3 tablespoons brown sugar
3 ounces semisweet chocolate chips
1/4 teaspoon vanilla extract

1. Rinse a 3 2/3-cup fluted mold with cold water and leave it upside down to drain. Blend the cornstarch to a smooth paste with a little of the milk.
2. Bring the remaining milk to a boil, preferable in a nonstick saucepan, then pour onto the blended mixture, stirring all the time. Otherwise it will get all gross and goopy!
3. Pour all the milk back into the saucepan and bring slowly to a boil over a low heat, stirring all the time until the mixture boils and thickens. Remove the pan from the heat, then add the sugar, chocolate chips and vanilla extract. Stir until the chocolate has melted.
4. Pour the chocolate mixture into the mold and leave in a cool place for several hours. I took this to mean: Cool until room temperature, then move to the fridge.
5. To unmold the blancmange, place on a large serving plate, then holding the plate and mold firmly together, invert them. Give both plate and mold a gentle but firm shake to loosen the blancmange, then left off the mold. Serve immediately.

So there you have it. Tastes delicious, but I don't know how it actually looks when it's unmolded correctly. Lesson learned, though: Make sure you properly secure your blancmange if you decide to loosen it with warm water from the sink.